


 English
 Español

News
 Home / News / Industry news / Tire Gauge & Inflator Guide: How to Choose, Use, and Maintain Accurate Air Tools
Tire Gauge & Inflator Guide: How to Choose, Use, and Maintain Accurate Air Tools
 2026.11.02
 Industry news
Tire pressure is one of those small details that quietly shapes safety, fuel use, and tire life. A tire that looks fine can still be several pounds per square inch low, and that small gap becomes heat, uneven wear, and longer stopping distances over time. A reliable tire gauge and inflator setup does not need to be complicated, but it does need to be accurate, easy to reach, and simple enough to use every week.
In our experience supplying tire valves, repair tools, and pneumatic fittings, the best gauge is the one that gets used. That usually means a tool that sits within reach, reads clearly, and gives the same result when you check it twice.
Why Tire Pressure Deserves More Attention Than It Gets
Underinflation is the quiet problem. A soft tire flexes more, runs hotter, and wears faster at the shoulders. It also asks the engine to work harder, which shows up as higher fuel consumption over time. Overinflation is less dramatic, but it still matters: the tread center can wear early, the ride becomes harsh, and the tire is more vulnerable to impact damage.
Dashboard tire pressure monitoring systems are helpful, but they are not a replacement for a physical check. Many systems warn only after pressure has dropped well below the recommended level, and they do not tell you whether one tire is slowly leaking through a valve, a bead, or a small nail. A monthly check with a good gauge, plus a check before long trips or heavy loads, catches small issues before they become roadside problems.
The Main Types of Tire Gauge & Inflator Tools
There is no single format that suits every user. A glovebox gauge, a workshop inflator, and a portable emergency inflator solve different problems. The table below gives a practical starting point.
| Format | Where it fits | What to check | Practical note |
|---|---|---|---|
| Stick gauge | Quick checks and glovebox use | Clear scale, smooth plunger, sturdy clip | Simple and battery-free, but read it straight on |
| Dial gauge | Home, workshop, and fleet use | Protected dial, firm chuck, zero reset | Easy to read, but drops can affect accuracy |
| Digital gauge | Low-light checks and precise readings | Resolution, auto-off, battery cover, hold function | Clear numbers help, but calibration still matters |
| Inflator with gauge | Shop air lines and regular inflation | Gauge quality, trigger control, hose and chuck | Verify final pressure with a separate gauge |
| Portable inflator | Roadside and travel use | Duty cycle, power source, hose length | Convenient for top-ups, not a full shop replacement |
| Workshop inflator | High-volume tire service | Regulator, hose durability, chuck fit | Good layout saves time and reduces hose strain |
Handheld gauges are best for checking pressure, while inflators are best for adding air. Combining the two in one tool is convenient, but the gauge on a high-use inflator should still be checked against a known master gauge. For shops, a separate hand gauge kept in a protective case is often the most trustworthy final check.
What to Look For in a Tire Gauge & Inflator
Feature lists can be long, but a few basics matter more than extras. Start with the pressure range and resolution you actually need. Passenger tires, truck tires, and high-pressure applications do not all sit in the same range, and a gauge that is hard to read at the pressures you use is not helping.
- Accuracy and resolution: Look for a clear stated tolerance and a scale that moves in small enough steps for your application.
- Readability: A large dial, bold numbers, or a backlit display makes a difference in a dim workshop or at night.
- Chuck and valve access: The head should press onto the valve firmly without leaking. Dual-head chucks help on awkward wheels, but they must still seal well.
- Hose and trigger control: A flexible hose and a trigger that allows short bursts make it easier to add air without overshooting.
- Durability: Rubber guards, reinforced hoses, and replaceable parts extend service life. A gauge that lives in a toolbox needs protection.
- Units and hold function: psi, bar, kPa, and kg/cm2 should be easy to switch or read. A hold feature helps when the valve is hard to reach.
- Serviceability: Check whether the chuck, hose, battery, or gauge head can be replaced instead of discarding the whole tool.
It also helps to think beyond the gauge itself. A leaking valve core, a worn chuck seal, or a poor quick coupling can make a good gauge look inconsistent. In our work with tire valves and pneumatic couplings, we often find that the real problem sits at the connection point rather than the dial.
How to Use a Tire Gauge and Inflator Correctly
Good habits matter as much as good tools. Use this sequence for a reliable check:
- Check tires when they are cold, or note that warm tires will read higher after driving.
- Remove the valve cap and keep it clean. Dirty caps can push grit into the valve core.
- Press the gauge or chuck straight onto the valve. A slight hiss is normal for a moment; a steady leak means the fit is poor.
- Read the pressure and compare it with the vehicle placard, not the maximum pressure molded on the tire sidewall.
- Add air in short bursts, then recheck. Overinflation is easier to prevent than to correct.
- Use a separate gauge for the final reading if the inflator gauge is old, dropped, or heavily used.
- Replace the cap firmly and check that the valve is not leaking. A little spit or soapy water can reveal a slow bubble.
For dual wheels, recessed valves, or tight wheel covers, a proper extension or angled chuck can save knuckles and improve accuracy. The goal is a straight, sealed connection, not force.
Accuracy, Care, and Common Mistakes
A gauge is a measuring instrument, even when it lives in a toolbox. Treat it with reasonable care and it will stay consistent for years. Drop it onto concrete, leave it in a hot dashboard for months, or use it with a leaking chuck, and the reading may drift.
- Keep a master gauge for reference and compare working gauges against it at least once a season.
- Do not use the gauge as a tire tool or pry bar. The internal mechanism is more delicate than the case suggests.
- Store digital gauges with the battery compartment protected from moisture and impact.
- Replace worn chuck seals and damaged hoses before they cause repeated pressure loss.
- Do not assume a tire is fine because it looks round. Modern tires can be low and still look normal.
- Do not chase a single reading. Check twice, and check again after inflation settles.
Temperature also affects pressure. A tire that has been sitting in the sun or running on a highway will read higher than a cold tire. That is normal physics, not necessarily an overinflation problem. Compare readings under similar conditions and use the vehicle manufacturer's cold-pressure recommendation as your baseline.
Choosing the Right Setup for Workshops, Fleets, and OEM Programs
For a workshop or fleet, buy for the workflow rather than the catalog description. Where will the inflator hang? How long is the hose? Can the operator read the gauge without crouching? Does the chuck fit the range of valves on the vehicles you service? A well-placed inflator with a good regulator and a reliable hand gauge often beats a feature-heavy unit that is awkward to use.
For OEM and custom programs, consistency across batches matters. Buyers need clear specifications for pressure range, tolerance, thread, chuck style, hose material, and packaging. It also helps to consider the whole air path: valve, core, cap, chuck, coupling, and gauge. A small mismatch at one point can create leaks or inaccurate readings that look like a gauge problem.
At Ningbo Autotech Tools, our daily work involves tire valves, tire repair tools, and pneumatic couplings, so we tend to see the gauge and inflator as part of a system rather than a standalone gadget. Our team supports OEM and custom production requests, and we are happy to discuss practical specifications with buyers who need a setup that works in the field, not just on a spec sheet.
A Simple Buying Checklist
- Confirm the pressure range and units needed for your vehicles or equipment.
- Choose a gauge you can read easily in the place where you will use it.
- Check the chuck fit on your most common valve types.
- Look for replaceable seals, hoses, and batteries where possible.
- Plan a calibration check against a master gauge.
- Buy for the air line and valve system around the tool, not just the tool itself.
Whether you are equipping a service bay, maintaining a fleet, or sourcing components for an OEM program, a thoughtful tire gauge and inflator setup pays back in small ways every day: fewer comebacks, more consistent tire wear, and safer vehicles on the road. Start with accurate tools, keep them clean and protected, and check pressure often enough that it becomes a habit rather than a rescue mission.
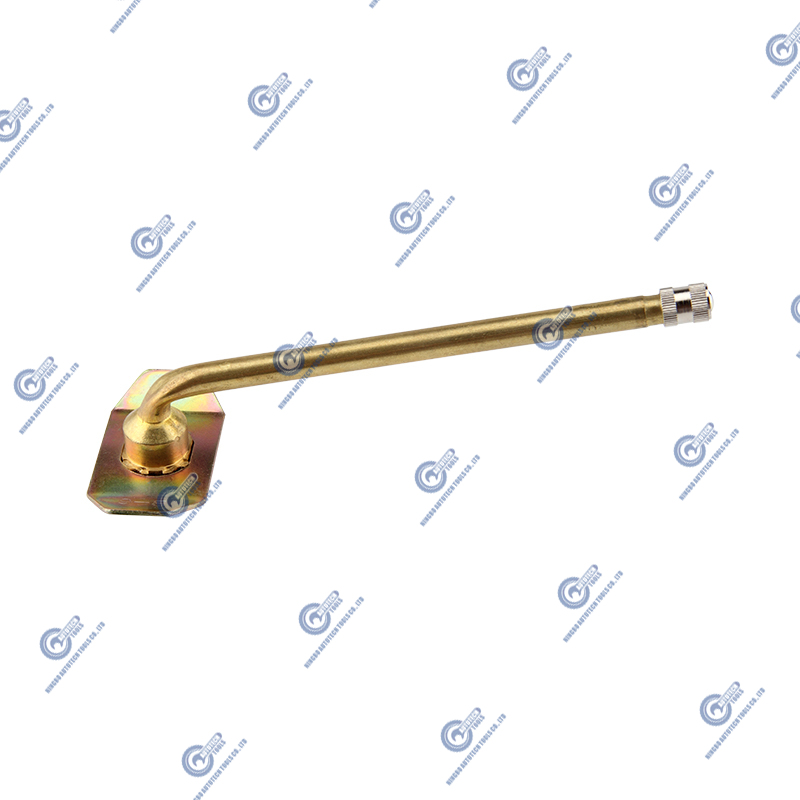
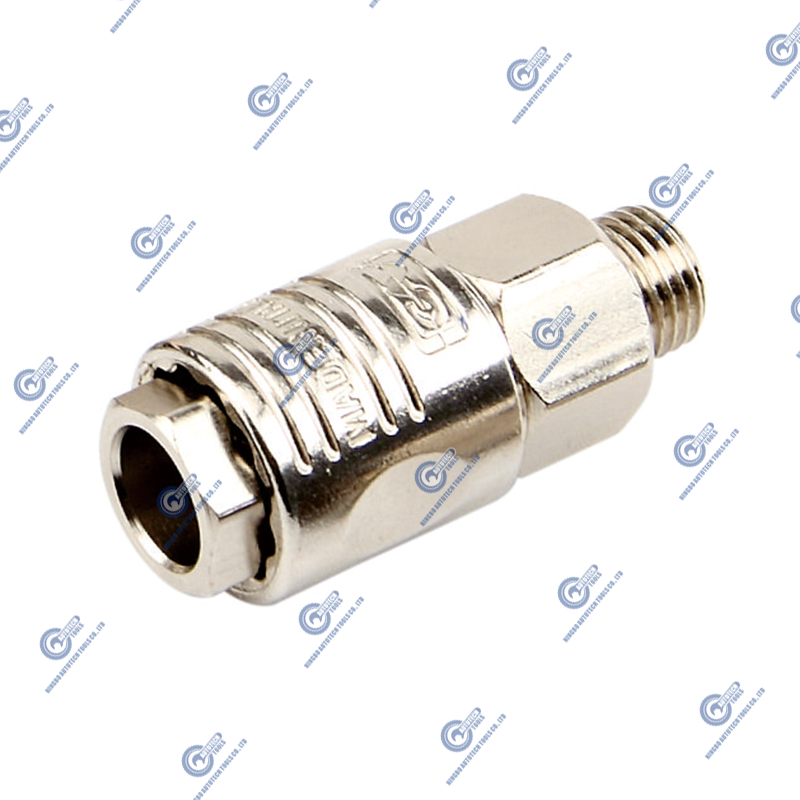
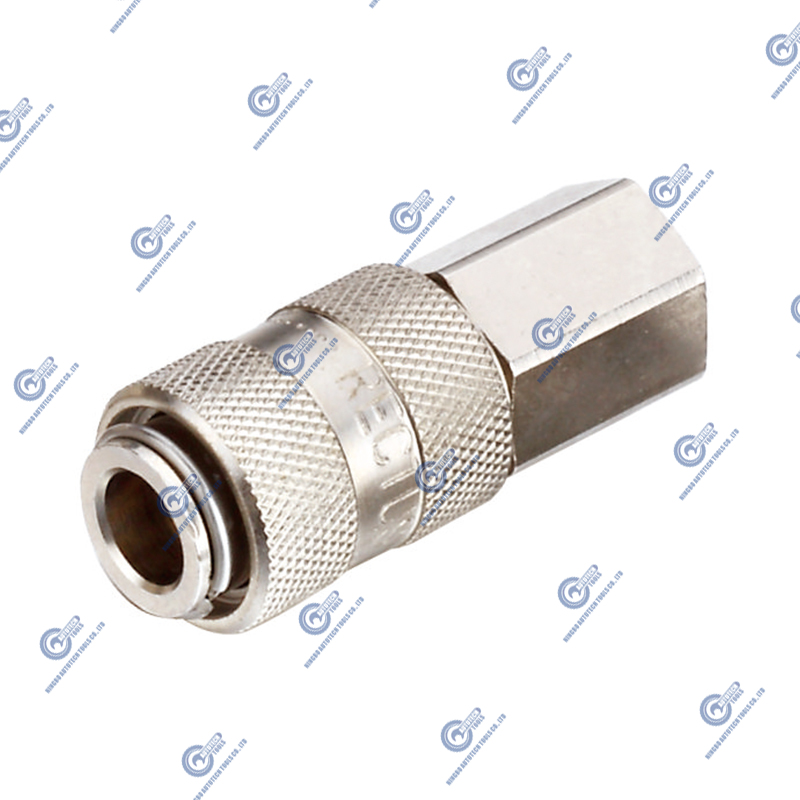
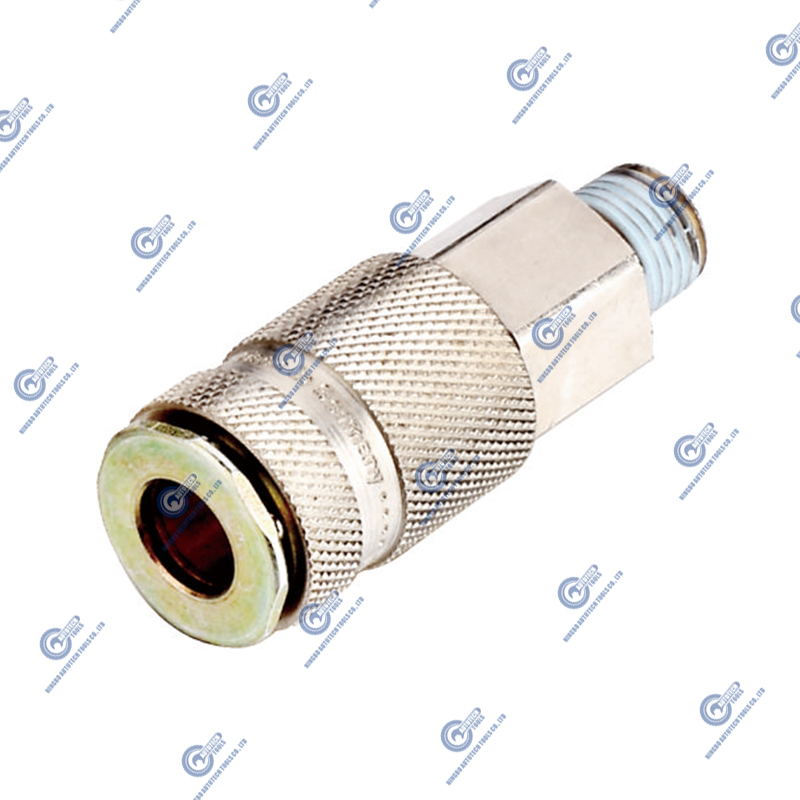
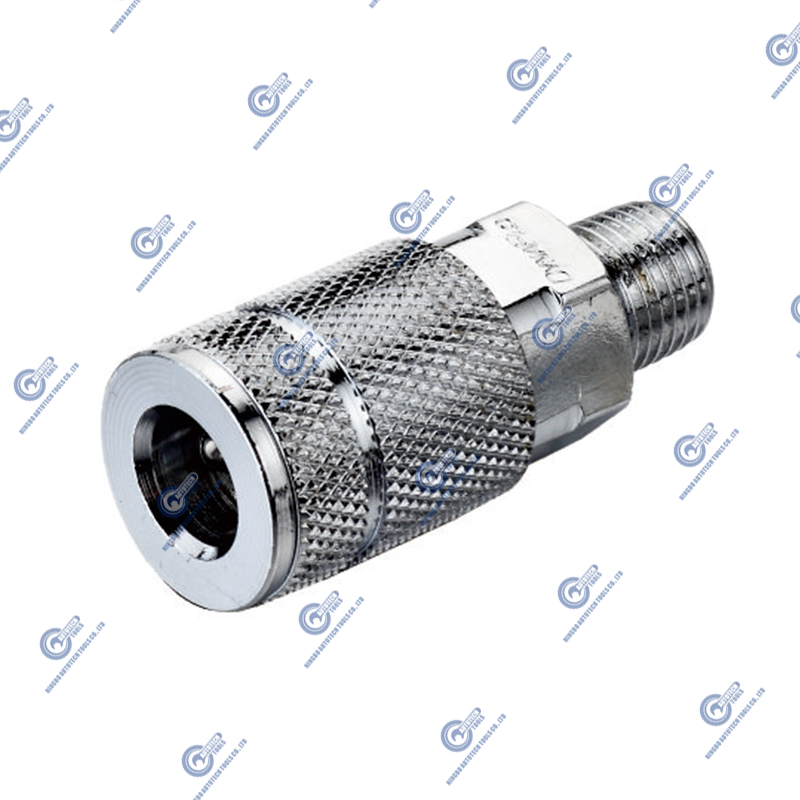
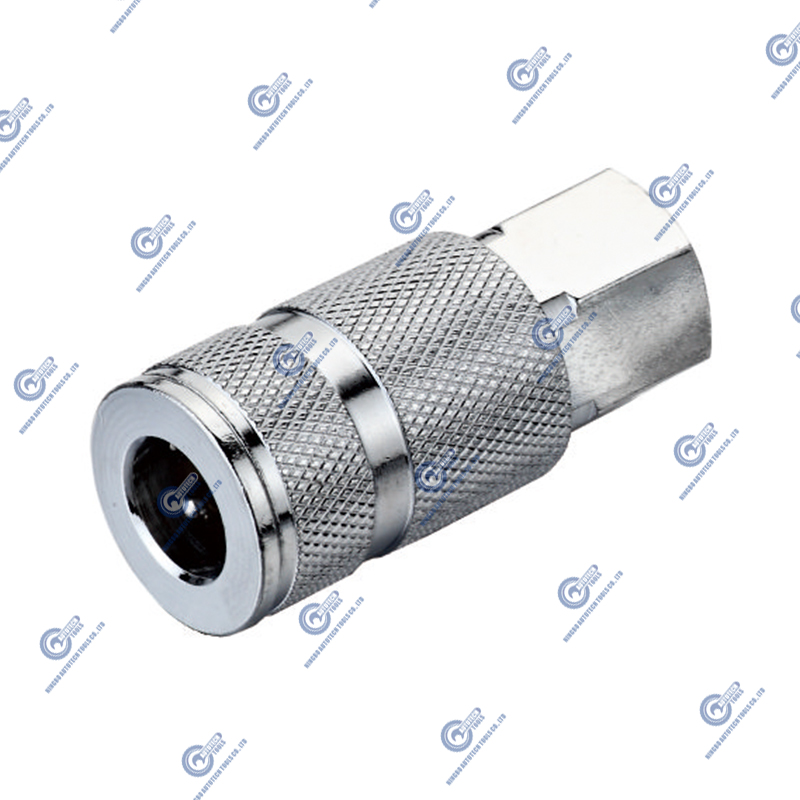

Ningbo Autotech Tools Co.,Ltd was founded in 2014 as a professional manufacturer of tire valves, tire repair tools & air quick couplings.
Product links
Contact Us
-
Address:No.16 Gaoqiang Road, Jiangnan Industrial Zone, Gaoqiao Town, Yinzhou District, Ningbo, China. 315175
-
Tel:+86-0574-89073063
-
E-mail:jimmy@autotechtool.com
