


 English
 Español
News
 Home / News / Industry news / How Do You Know What PSI Your Tires Should Be and How Often Should You Check?
 How Do You Know What PSI Your Tires Should Be and How Often Should You Check?
 2026.05.25
 Industry news
A practical guide for drivers who want to maintain correct tire pressure, understand where to find their vehicle's PSI specification, and build a reliable checking routine.
Direct Answer: Check the Driver's Door Jamb Sticker — Not the Tire Sidewall — and Inspect Pressure Monthly
The correct PSI for your tires is printed on a sticker inside the driver's door jamb or in your owner's manual — not on the tire sidewall. The number stamped on the tire sidewall is the maximum pressure the tire can safely hold, not the recommended operating pressure for your vehicle. Most passenger cars run between 30 and 36 PSI; trucks and SUVs typically require 35 to 45 PSI. Tire pressure should be checked at least once a month and always before long trips, as tires naturally lose approximately 1 PSI per month and an additional 1 PSI for every 10°F drop in ambient temperature.
Where to Find the Correct PSI for Your Vehicle
There are four reliable sources for your vehicle's recommended tire pressure. Use them in this order of priority:
- Driver's door jamb sticker. This is the most accessible and authoritative source for the vast majority of vehicles. Open the driver's door and look for a white or yellow sticker on the door edge or door frame. It lists the recommended cold inflation pressure for front and rear tires separately, along with the correct tire size. This is the number you should always use.
- Owner's manual. The tire pressure specification is typically listed in the maintenance section or in a dedicated tires chapter. This is the most complete source — it also covers spare tire pressure, load-dependent pressure adjustments, and winter tire recommendations.
- Fuel filler door sticker. Some vehicles, particularly European models, print the tire pressure specification on a sticker inside the fuel filler flap. This is common on vehicles where front and rear pressures differ significantly or where pressure varies by load.
- Glove compartment sticker. A smaller number of vehicles place the pressure specification on the inside of the glove compartment door. Check here if the door jamb sticker is absent or illegible due to age.
Never use the maximum PSI number molded into the tire sidewall as your target pressure. For example, a tire marked "Max. Press. 51 PSI" does not mean your vehicle should run at 51 PSI — the correct pressure for that same vehicle may be only 32 PSI. Running tires at maximum sidewall pressure causes a harsh ride, reduced contact patch, uneven center tread wear, and significantly higher blowout risk.
Typical PSI Ranges by Vehicle Type
| Vehicle Type | Typical Front PSI | Typical Rear PSI | Spare Tire PSI | Notes |
|---|---|---|---|---|
| Compact / subcompact car | 30–33 PSI | 30–33 PSI | 60 PSI (compact spare) | Front and rear often identical |
| Midsize sedan / hatchback | 32–35 PSI | 32–35 PSI | 60 PSI (compact spare) | May vary ±2 PSI front to rear |
| SUV / crossover | 33–36 PSI | 33–38 PSI | 35–60 PSI | Rear often 2–4 PSI higher for load |
| Light truck / pickup | 35–40 PSI | 40–65 PSI | 35–60 PSI | Rear pressure varies heavily by load |
| Sports / performance car | 30–36 PSI | 28–34 PSI | Run-flat or no spare | Rear often lower for grip balance |
| Electric vehicle (EV) | 38–42 PSI | 38–42 PSI | Varies — many EVs have no spare | Higher pressure offsets heavy battery weight |
How Often Should You Check Tire Pressure?
The answer depends on season, driving habits, and vehicle type — but a clear minimum standard applies to all drivers:
- Once per month — the baseline standard. Tires lose approximately 1 PSI per month through normal permeation of air molecules through the rubber, even without any puncture or damage. Monthly checks catch gradual pressure loss before it reaches a level that affects safety or fuel economy.
- Before every long trip (over 100 miles). Extended highway driving generates sustained heat in the tires. Starting a long trip with already-low pressure accelerates this heat buildup and increases blowout risk significantly.
- When temperatures drop by 10°F or more. Tire pressure drops by approximately 1 PSI for every 10°F decrease in ambient temperature. A tire at the correct 34 PSI in summer at 80°F may read only 28 to 29 PSI on a winter morning at 20°F — a significant and dangerous underinflation without any air loss occurring.
- After hitting a pothole, curb, or road debris. Impact damage can cause slow leaks at the bead seal or sidewall micro-cracks that are not immediately visible. Check pressure within 24 hours of any significant impact.
- When the TPMS warning light illuminates. The Tire Pressure Monitoring System (required on all US vehicles since 2008) warns when pressure drops 25% or more below the recommended level — which is already a significant underinflation. Do not wait until this light appears to begin checking pressure; use it as a backup alert, not a primary monitoring tool.
The Critical Rule: Always Check Cold Tire Pressure
Tire pressure must always be measured when the tires are cold — meaning the vehicle has been parked for at least 3 hours and driven less than 1 mile since parking. As tires warm up during driving, air inside expands and pressure rises by 4 to 8 PSI above the cold reading. If you check pressure after driving and get a reading of 36 PSI, the actual cold pressure could be as low as 28 to 32 PSI — well below the recommended level. Adding air to a hot tire to match the cold specification will result in dangerous overinflation once the tire cools.
If you must check pressure when the tire is warm — for example, at a gas station after driving — add 4 PSI to the recommended cold pressure as a temporary target and recheck in the morning when tires have fully cooled.
What Happens When Tire Pressure Is Wrong
| Condition | Effect on Tire Wear | Effect on Fuel Economy | Safety Risk |
|---|---|---|---|
| Underinflated by 6 PSI | Edge wear — outer shoulders wear faster | Reduced by 2.5–3% | High — increased heat buildup, blowout risk |
| Underinflated by 10+ PSI | Severe edge wear, sidewall flexing damage | Reduced by 5–10% | Very high — NHTSA links low pressure to 11,000 tire-related crashes annually |
| Correct PSI | Even wear across full tread width | Optimal | Lowest risk — full contact patch and handling |
| Overinflated by 6 PSI | Center wear — middle tread wears faster | Marginally improved | Moderate — reduced contact patch, harder ride, less traction |
| Overinflated by 10+ PSI | Severe center wear, cracking risk | Slightly improved but negligible | High — blowout risk from impact, greatly reduced grip |
How to Check Tire Pressure Correctly: Step by Step
- Check when tires are cold. Park the vehicle for at least 3 hours before measuring, or check first thing in the morning before driving.
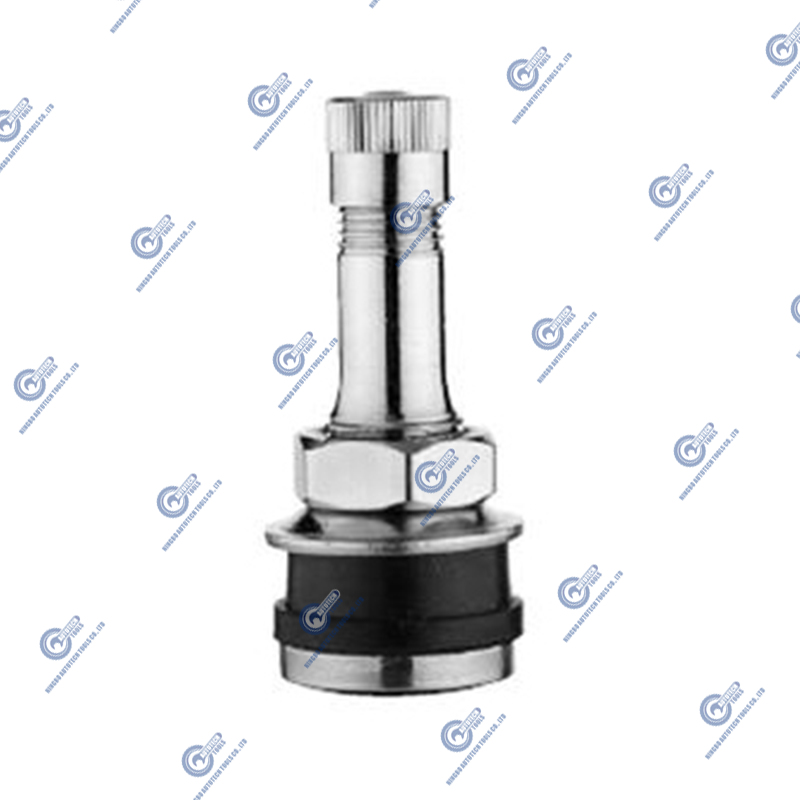
- Locate the valve stem on the inner edge of each wheel. Remove the valve cap and keep it somewhere safe — losing valve caps allows moisture and dirt into the valve core.
- Press your tire gauge firmly onto the valve stem. A hissing sound indicates the gauge is not fully seated — press harder and recheck. A digital gauge gives an immediate reading; a dial gauge holds the needle at the peak pressure; a stick gauge ejects a measurement bar.
- Read the PSI and compare to the door jamb specification. Note whether front and rear specifications differ — check and record each tire individually.
- Add air if below specification using a portable inflator or gas station air pump. Add in short bursts and recheck frequently — it is easy to overshoot the target pressure.
- Release air if above specification by briefly pressing the small pin inside the valve stem with the gauge tip or a pen cap. Recheck after each brief release.
- Replace all valve caps, confirm all four tires and the spare are at correct pressure, and note the date for your monthly check routine.
Choosing the Right Gauge for Accurate Readings
Gauge accuracy directly affects whether your pressure adjustments actually achieve the correct result. The three main gauge types differ meaningfully in accuracy and usability:
- Digital gauges — Most accurate for home use, typically within ±0.5 to 1 PSI. Easy to read in low light. Require a battery but offer the most reliable readings for consistent monthly checks. Recommended for most drivers.
- Dial (analog) gauges — Accurate within ±1 to 2 PSI on quality models. No battery required and durable for long-term use. The dial can be harder to read quickly in poor light and the needle can drift with age.
- Stick (pencil) gauges — The least accurate type, typically ±2 to 3 PSI on inexpensive models. Compact and inexpensive for glove compartment storage, but not reliable enough for precise monthly pressure management.
For drivers who want a single tool that both checks and corrects pressure, a digital tire inflator with a built-in gauge is the most convenient solution — it displays current PSI, allows you to set a target pressure, and automatically stops inflating when the target is reached, eliminating the guesswork of manual inflation.
Final Recommendation: Build a Monthly Pressure Check Into Your Routine
The simplest and most effective approach is to check all four tires on the first morning of every month before your first drive of the day. This takes less than five minutes with a quality digital gauge, costs nothing beyond the initial gauge purchase, and directly impacts tire longevity, fuel costs, and road safety. The US Department of Energy estimates that keeping tires properly inflated improves fuel economy by up to 3% — saving the average driver approximately $50 to $100 per year in fuel at current prices, which far exceeds the cost of a reliable gauge. Combined with a seasonal check whenever temperatures shift significantly, monthly cold-pressure monitoring is one of the highest-return maintenance habits any driver can adopt.
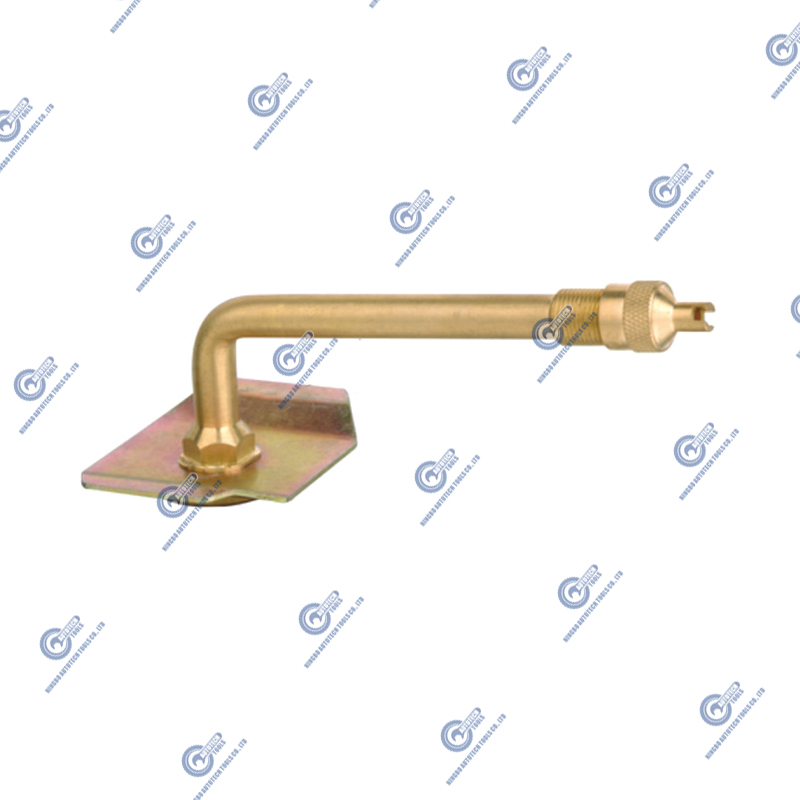
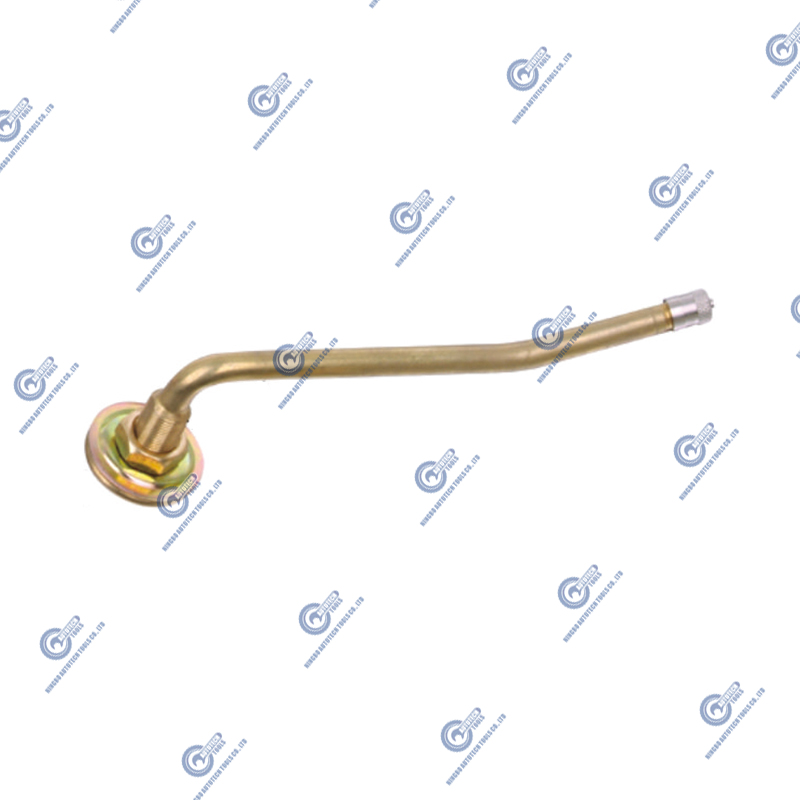
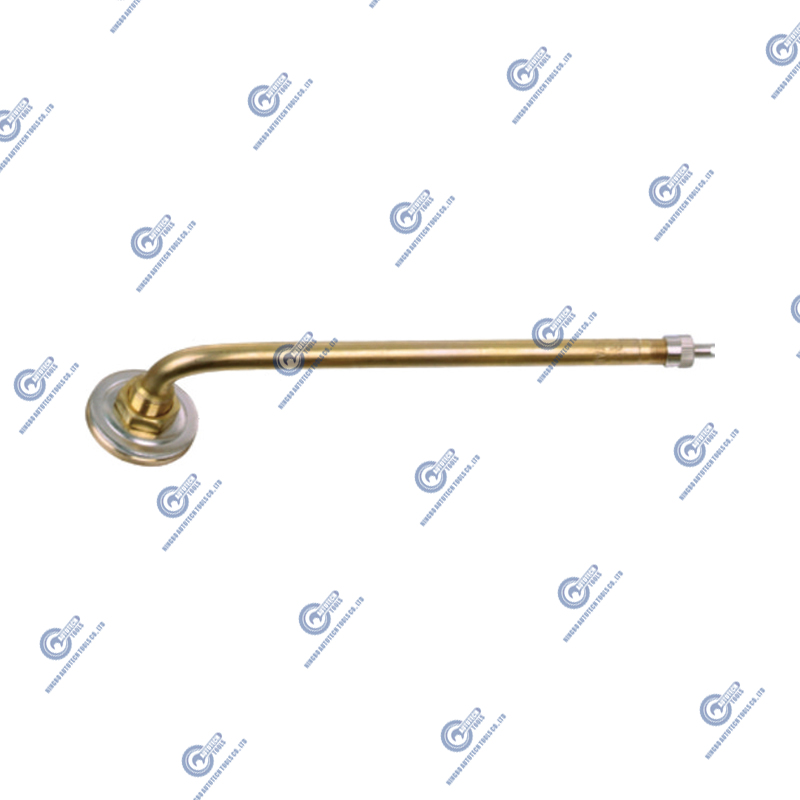
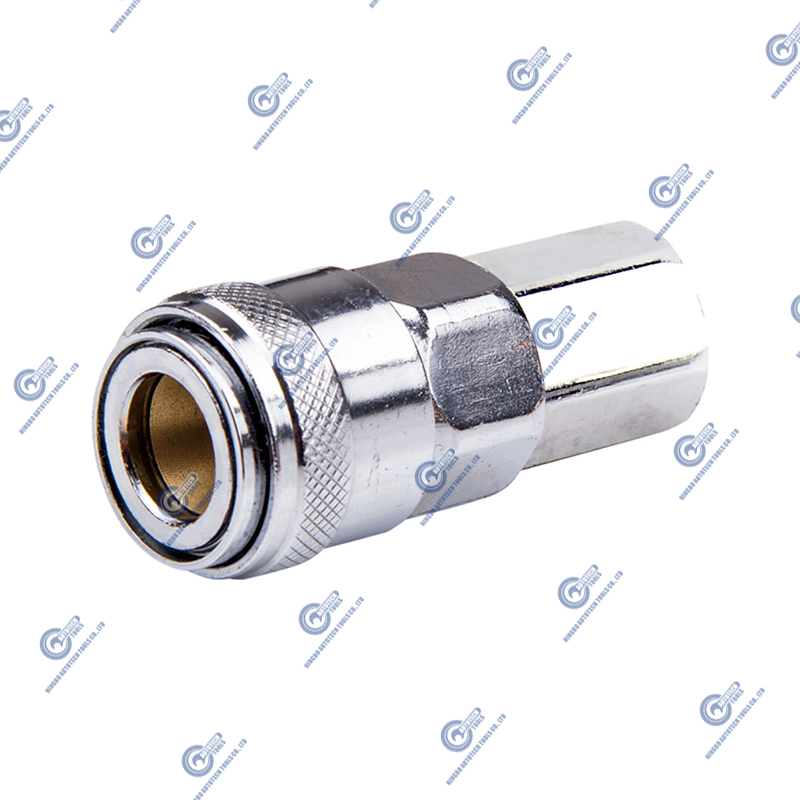

Ningbo Autotech Tools Co.,Ltd was founded in 2014 as a professional manufacturer of tire valves, tire repair tools & air quick couplings.
Product links
Contact Us
-
Address:No.16 Gaoqiang Road, Jiangnan Industrial Zone, Gaoqiao Town, Yinzhou District, Ningbo, China. 315175
-
Tel:+86-0574-89073063
-
E-mail:jimmy@autotechtool.com
