How to correctly replace the tire valve to ensure driving safety
 2025.06.30
 Industry news
The tire valve is the interface between the tire and the outside air. It is responsible for inflation and preventing air leakage. It is an important component to ensure stable tire pressure and safe driving of the vehicle. If the tire valve is aged, damaged or leaking, it will lead to abnormal tire pressure and even cause dangers such as tire blowout.
1. Preparation
Before replacing the tire valve, you must prepare the relevant tools and materials to avoid interruption of the construction process due to lack of tools, which will affect the operation effect.
Choose a suitable new valve
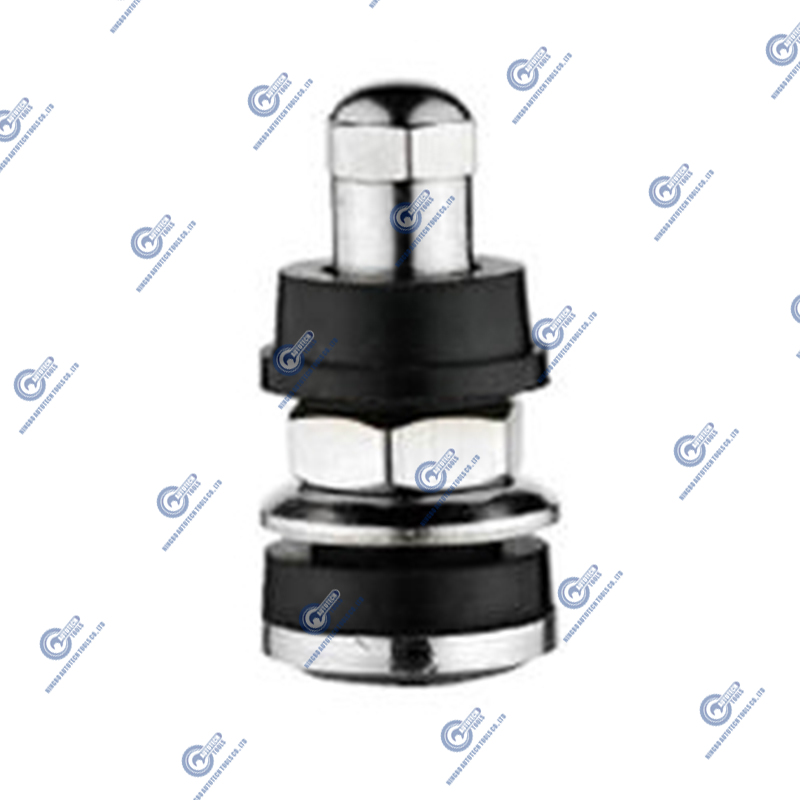
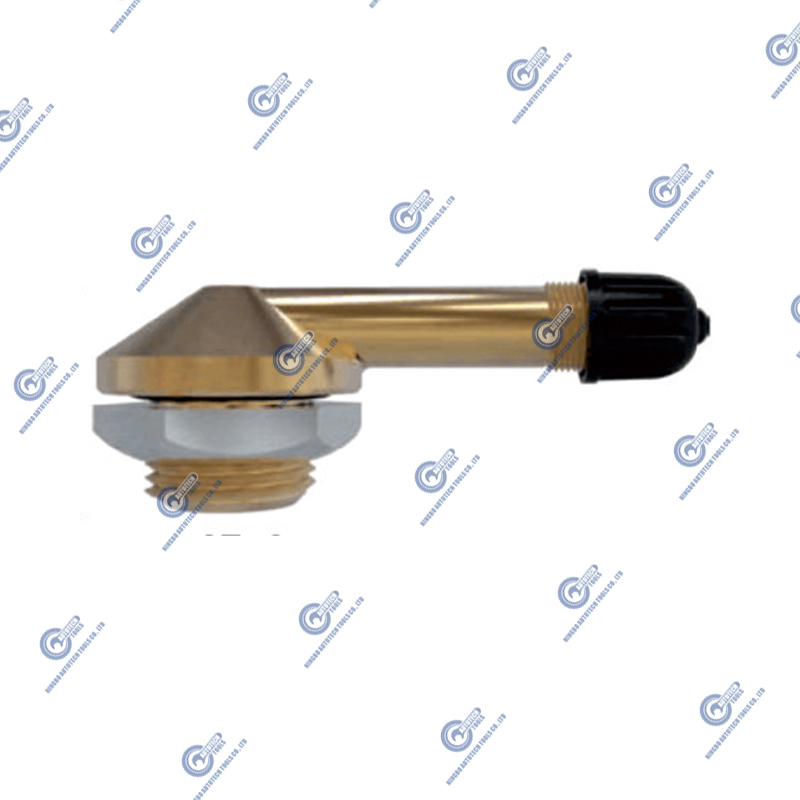
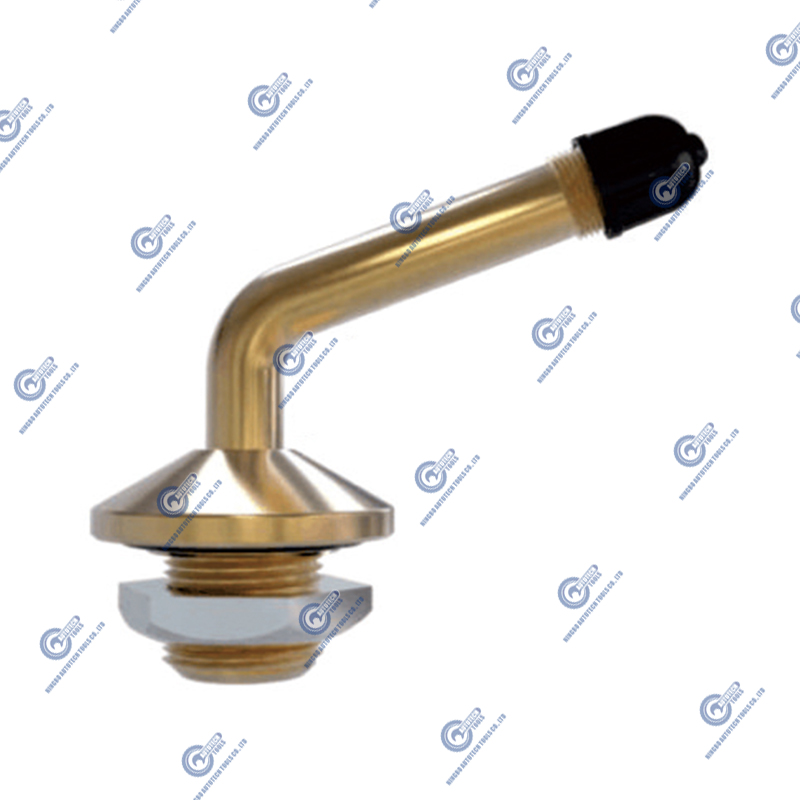
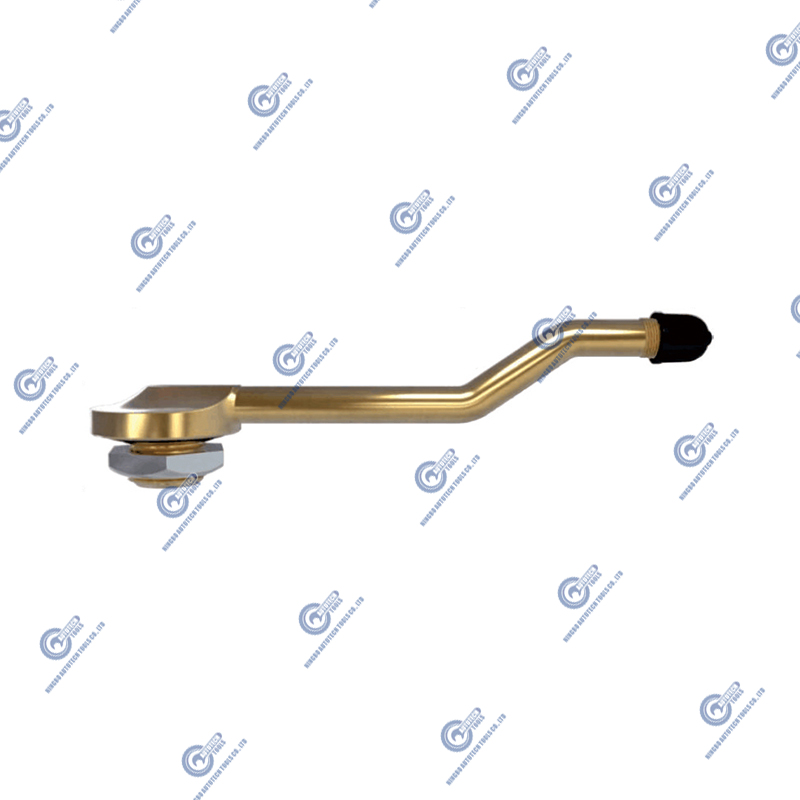
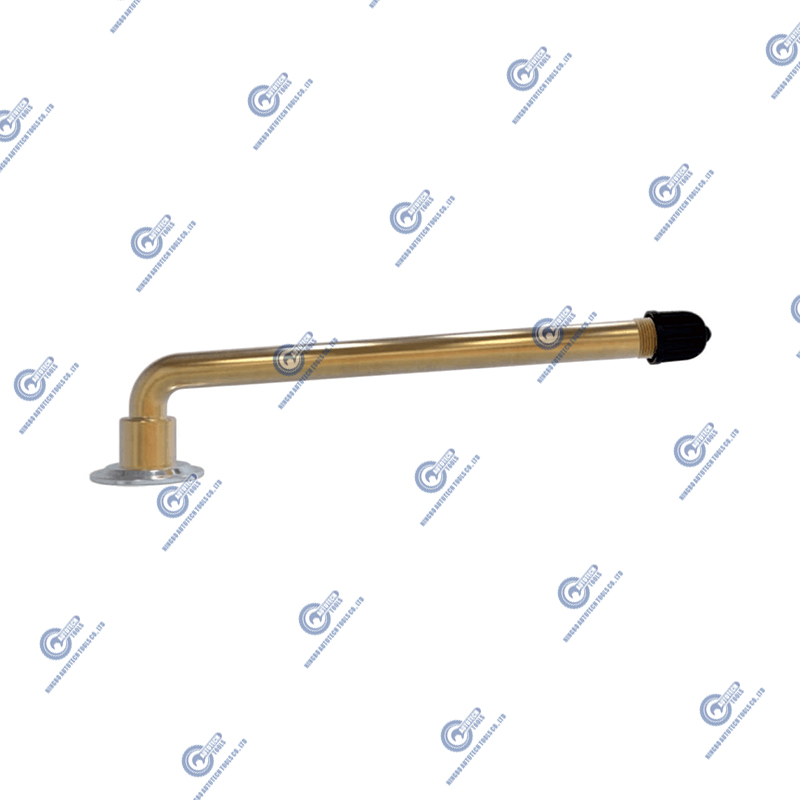
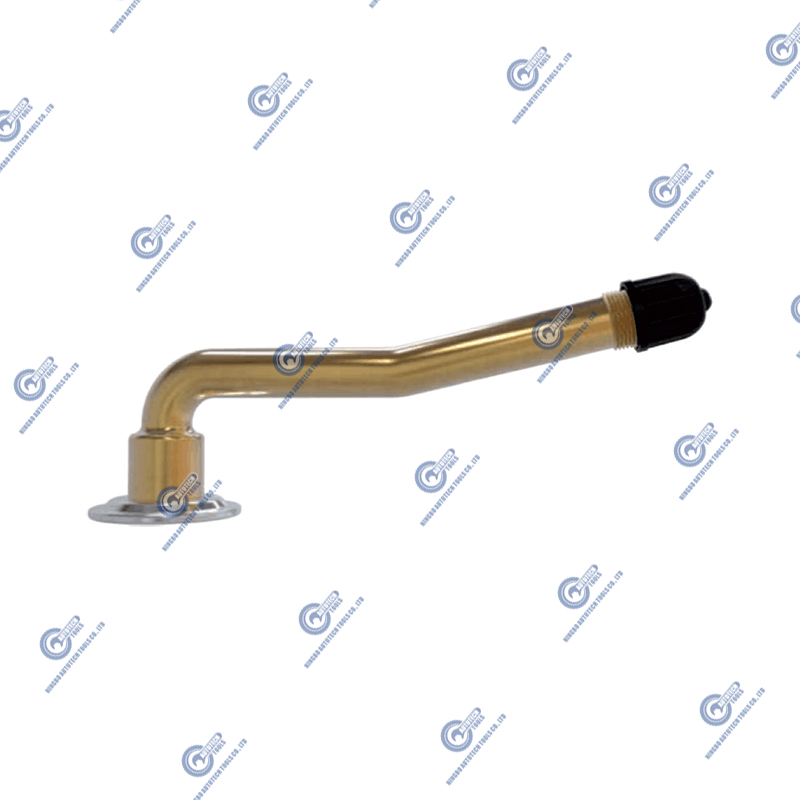
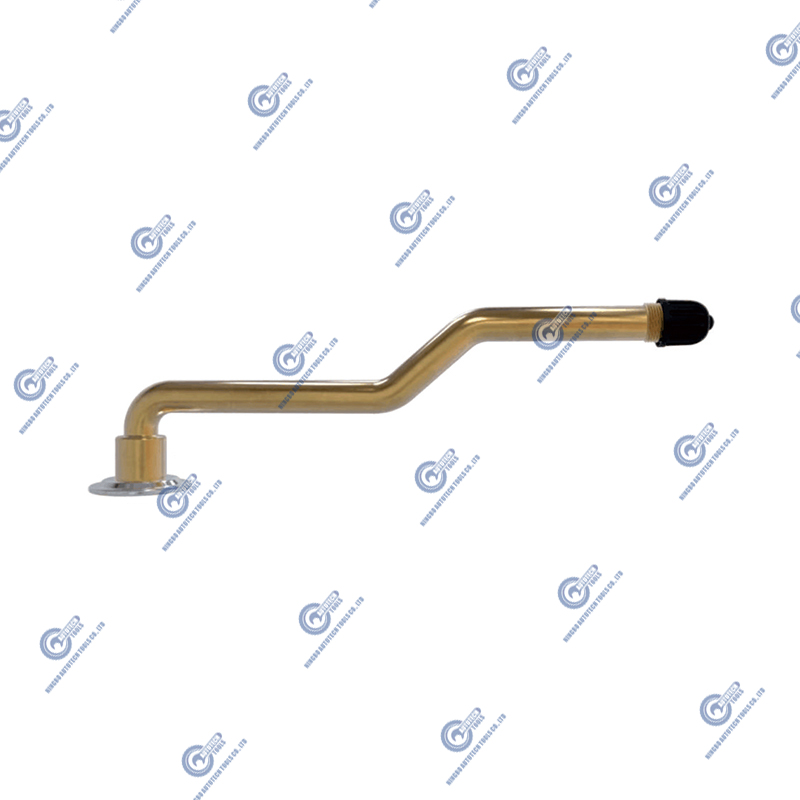
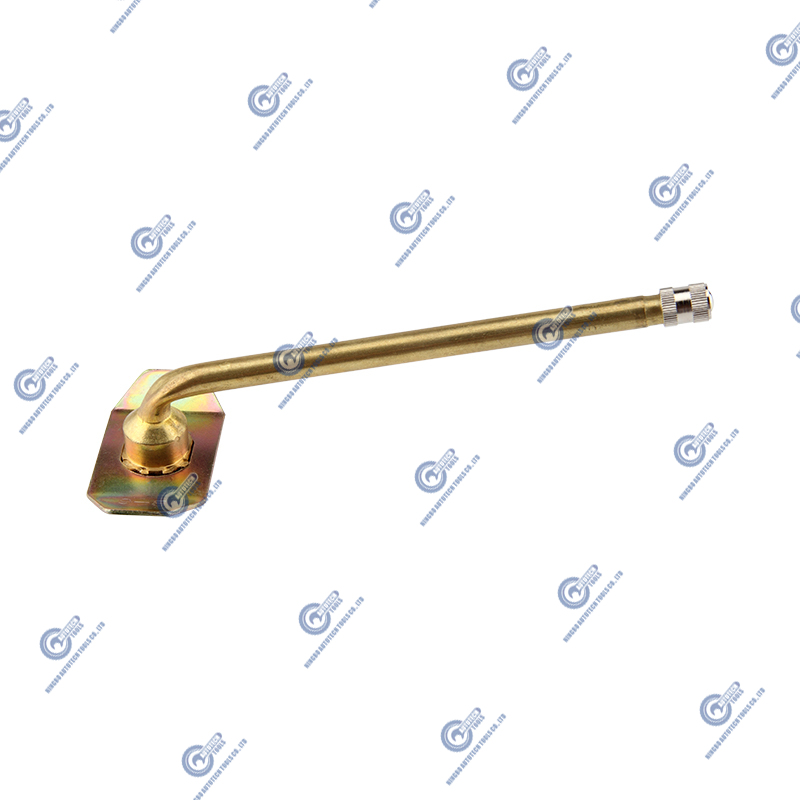
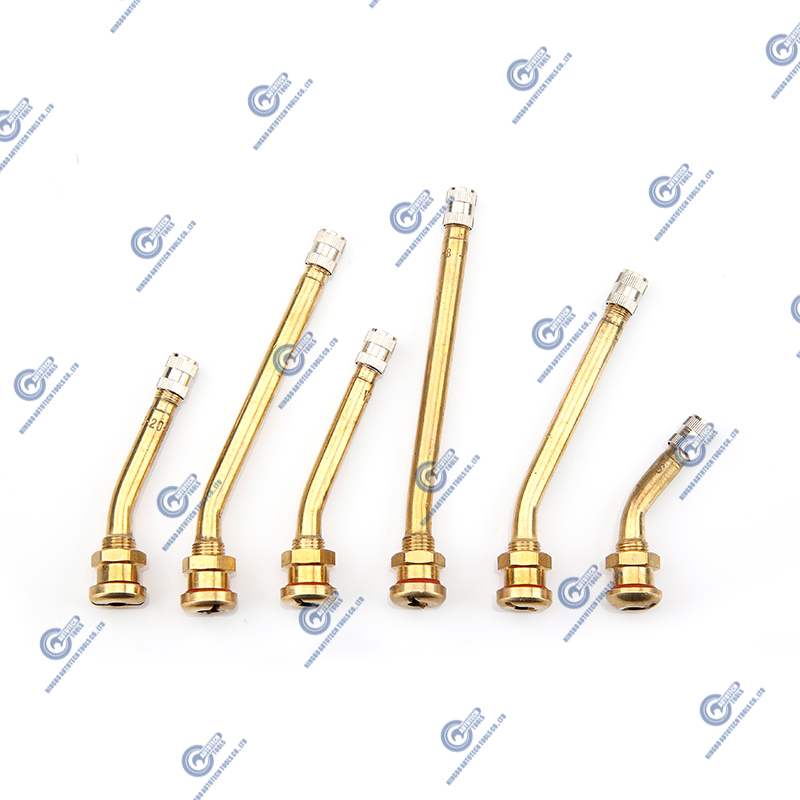
There are two main types of tire valves: rubber valves and metal valves. Rubber valves are relatively cheap and suitable for ordinary family cars. They are easy to install but have slightly poor durability; metal valves are mostly used for high-performance or off-road vehicles. They are pressure-resistant, wear-resistant, and have a longer life. When purchasing, pay attention to whether the length and caliber of the valve match the vehicle wheel hub.
Tire removal tools
Includes tire levers, jacks, wrenches, and tire removal machines (if there is no professional equipment at home, it is recommended to replace them in the store). These tools help to remove tires safely and smoothly, avoiding damage to the wheel hub and tire.
Barometer
Used to measure tire pressure, confirm whether the air pressure meets the standard after installing the valve, and ensure that the tire pressure meets the vehicle manufacturer's recommendations.
Lubricant (soapy water or special lubricant)
Lubricate the valve installation area to reduce resistance and avoid damaging the rubber or scratching the wheel hub during installation.
Anti-slip gloves
Prevent tools from slipping and injuring your hands, and avoid oil stains on your hands from contaminating the valve or tire.
2. Remove the tire
To replace the valve, the tire must be removed from the wheel hub. This step is the most critical and time-consuming, and requires careful operation.
Ensure that the vehicle stops safely
Choose a flat and solid ground and tighten the handbrake. To prevent the vehicle from sliding, you can place blocks behind the wheels. Especially when changing the front wheels, it is recommended to fix the rear wheels with blocks.
Remove the tire
Raise the vehicle support with a jack, remove the nuts that fix the tire, and then gently remove the tire. The movement should be even during removal to avoid damaging the threads or the wheel hub.
Remove the valve
After the tire is removed, the valve is usually close to the valve hole of the wheel hub. Use a wrench or special tool to remove the old valve. Avoid excessive force during removal, which may cause deformation or damage to the wheel hub valve hole.
3. Install the new valve
The installation of the new valve determines whether the sealing effect can be achieved. The key steps are as follows:
Clean the tire and wheel hub interface
Use a clean cloth or brush to clean the dust, grease and debris around the valve hole to ensure that the new valve can be tightly combined with the wheel hub.
Lubricate the bottom of the valve
Apply a small amount of lubricating oil or soapy water to the installation end of the valve to help insert it smoothly into the valve hole and reduce the risk of rubber tearing.
Correctly install the valve
Insert the valve into the valve hole of the wheel hub, and gently pull it outward with your hands or a valve puller until the bottom of the valve is completely stuck in the wheel hub. Make sure the valve is upright to avoid tilting and causing poor sealing.
Tighten the valve core
Install the valve core into the valve and tighten it with a special tool or your fingers. The valve core is an important component to prevent air leakage and must be tightened but avoid excessive force.
4. Reinstall the tire
After installing the valve, you also need to reinstall the tire and inflate it to ensure overall safety.
Install the tire back to the wheel hub
Use the tire removal tool to press the tire back to the wheel hub evenly to ensure that the tire fits seamlessly with the wheel hub. The process requires patience to avoid excessive force that may cause the tire to deform.
Inflate to the specified tire pressure
Use an air pump to inflate the tire. The tire pressure should be adjusted according to the vehicle manual or the recommended value of the tire sidewall, usually 2.2-2.5 bar (the unit may vary depending on the region).
Check the valve seal
Apply soapy water around the valve and observe whether there are bubbles. Bubbles mean that the valve is leaking and needs to be reinstalled or replaced.
5. Precautions
Choose a valve suitable for the vehicle model
Different models and tire sizes have different requirements for the pressure resistance and length of the valve. Wrong selection may lead to installation difficulties or poor sealing.
Check the valve regularly
The valve is exposed to the outside for a long time and is easily eroded by ultraviolet rays, rain, and dirt. It is recommended to check whether the valve is aging, cracked or loose every time you check the tire pressure.
Avoid over-tightening the valve core
Although the valve core needs to be tightened to ensure sealing, over-tightening may cause damage to the valve core or even jamming, affecting subsequent maintenance.
Professional operation suggestions
If you do not have relevant experience or tools, it is recommended to go to a professional tire repair shop for replacement to ensure safety and quality.


